

It's been quiet on the blog here lately for a couple of reasons. One, after what felt like an endless winter, spring is finally here and we are making up for lost time. Once the snow finally melted, we have been outside all the time. Also, Spring sports started a little later because of the snowy fields, so we now have soccer games and baton competitions to fill our schedule.
I've also been working on a fairly big project....a new sewing table for me! I am very lucky to have a dedicated sewing area in our finished basement. Maybe it was because the winter was so cold and long, but one day I decided it was time for a spruce up. My space was started to feel dark and I was getting fed up with squeezing my 3 machines on one not so well designed desk.
My new desk and space is pretty much done and I'm excited to share how I made this table with parts from Home Depot. It's kind of an IKEA knockoff, but about $50 less than what it would cost there. It wasn't so much about the cost, but more about the durability and the travel time. The 2 closest IKEA stores are just about 2 hours away for me. Don't get me wrong, I'm an IKEA lover through and through, I just didn't feel like I'd have the time to make the trip.

More details on the table coming soon. In the meantime, here's a quick and easy project I made while transitioning my space. I recently redesigned my Zaaberry CHILDREN clothing labels and needed some way of storing them in my new drawers which are much shorter than my old ones.


I took the jars apart,

measured the diameter of the circle top piece,

and drew 4 circles in Powerpoint. I added the text for my labels and printed them on yellow paper. I glued them into the ring top, then glued the the center circle to the bottom. I would recommend making your circles a little larger than the center circle piece. I ended up getting some glue leaking over the side since my circles were a little bit on the small side.
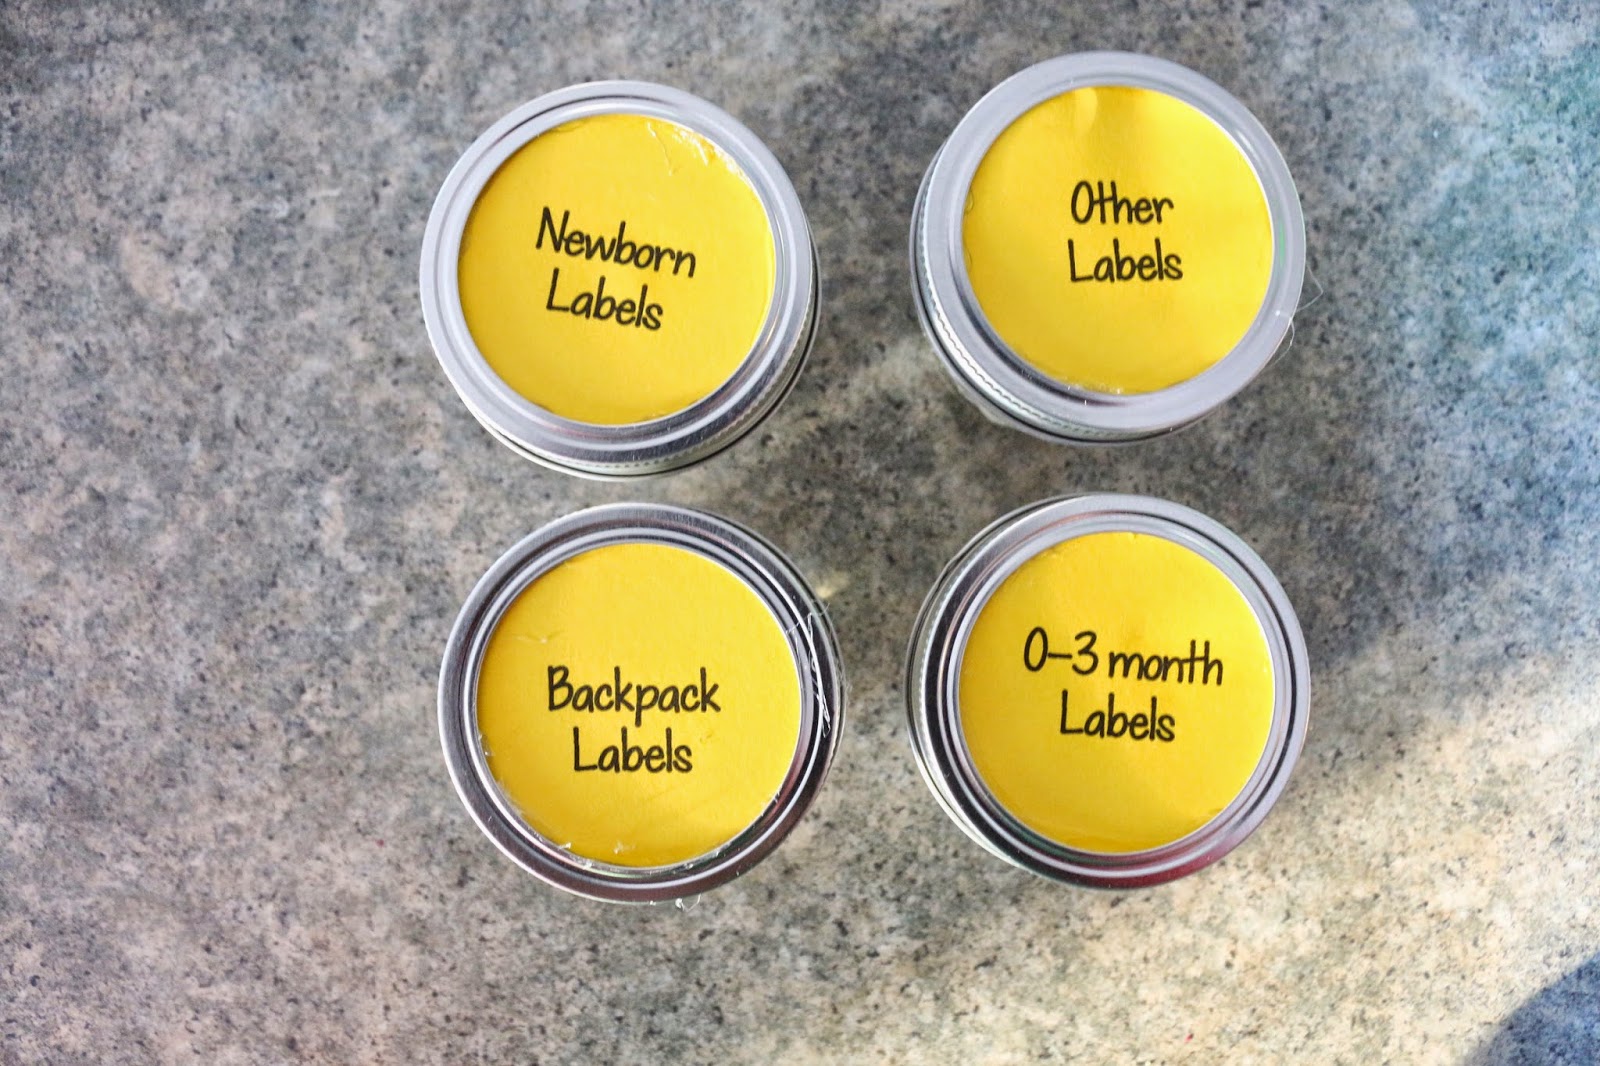
Oh well, not perfect. But they do the job and look nice in my new drawers.

Come back soon to hear about how I built my new sewing table.
0 comments:
Post a Comment